November 2013 Update
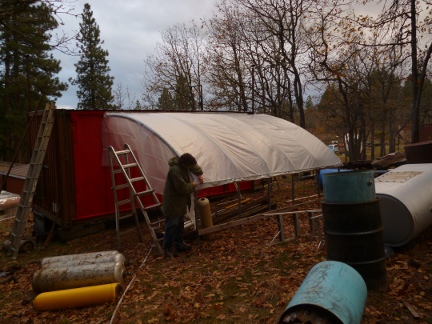
November 17, 2013 The race is on to get PowerLab ready for winter. Now that we're into the initial assembly of Stage One of the Biomass-powered Compressor, we're going to need a dry place for it to live and work as the rainy season gets underway.
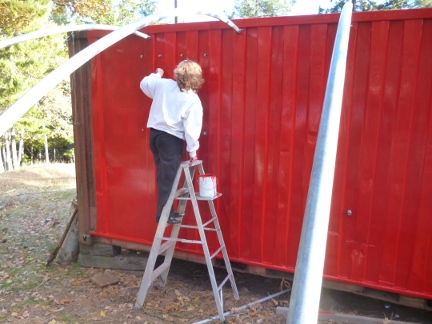
The first step was to cut some of 20' wide greenhouse bows in half so that we could use them to attach a half-shelter to the side of PowerLab. The next step was to prep and paint the side of PowerLab where the various compression stages would be mounted. True Fan Pat did a great job with an electric-powered wire brush knocking down the old paint and removing rust in anticipation of a couple coats of enamel paint.
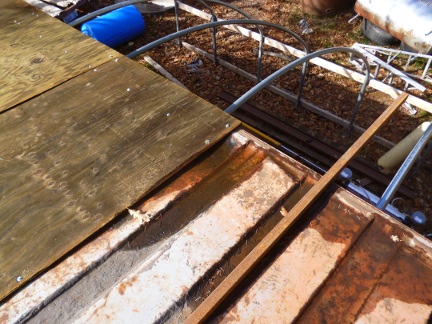
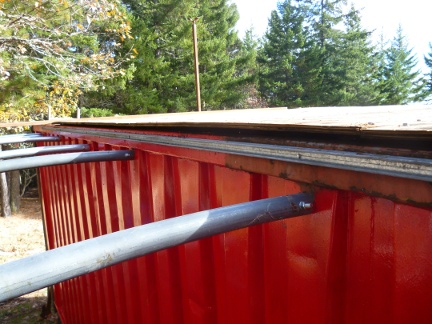
The container we call PowerLab lived a rough life before retiring and coming to Windward, and its roof shows it. There's some deformation of the steel and some corrosion, enough that the top needs some sort of traditional roof if the interior of the container is going to remain dry this winter.
While shipping containers are remarkable in many ways, when the roof gets damaged, they can quickly turn into something resembling a funnel. That's to say that they don't leak in the way that a traditional roof usually does; when they leak, they can gather and allow in a lot of water. Because of the damage to the corrogated roof, it made sense to start by laying lay down a plywood deck as a base for the metal roofing that's to follow.
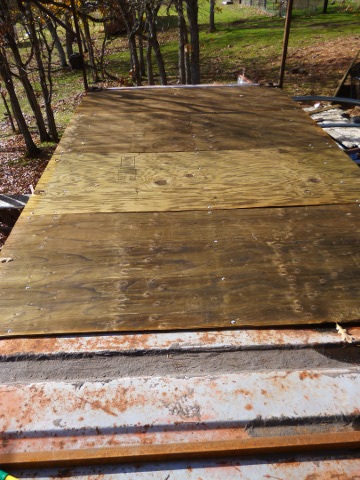
The plywood deck went a long way towards creating a level roof for PowerLab. I can tell from today's rain that it's there still is one sag in one spot, but attentive caulking should be able to handle that. Ultimately, level roofs are subject to pooling, which is why it's best to retain a couple degrees of slope; since PowerLab's roof and floor are parallel, adding slope to the roof necessarily would create a sloped floor inside of PowerLab.
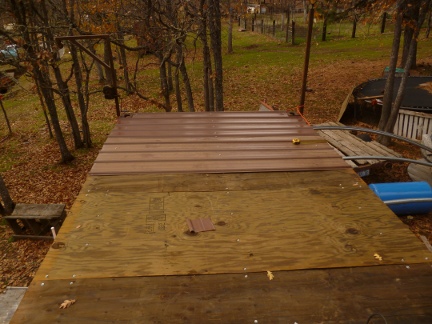
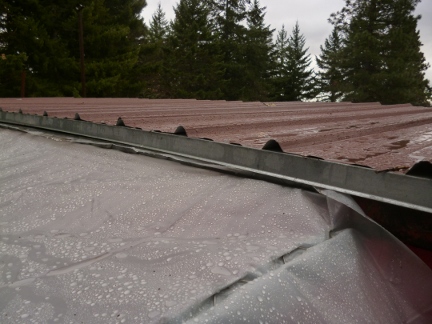
The metal roofing goes on quickly; just lots of screwing. One of the tricky bits was that we couldn't use the ordinary roofing screws--even the shortest screw was too long for this application. Instead, we had to go with TEKs (self-drilling, self-taping screws) since many of the screws would need to be able to go through the plywood and then through the roof of the container as well.
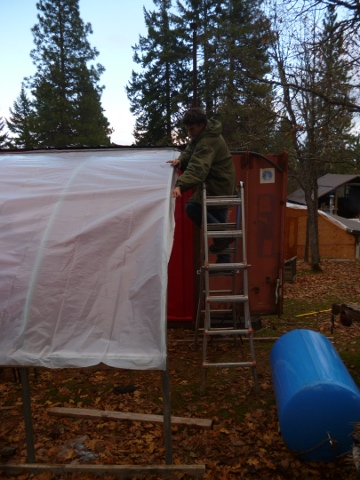
With the metal roof in place on the main body of PowerLab, the next step was to cover the bows with 6 mil plastic to provide a dry outside area in which to assemble the Biomass Compressor. The system we use to attach plastic to buildings and bows is one developed for greenhouses. It's a two part system consisting of a metal track in the shape of the capital letter "C", and a springy wire that comes bent to fit inside the track trapping the plastic in place.
The goal of PowerLab's side shelter is to keep the rain and snow off of the compressor while allowing for plenty of ventilation. Being open on the east and west ends, and along the ground on the north side, we should have lots of "airy" room in which to set up the equipment.
The last little bit is to install a line of rain flashing to help transition water from the roof onto the plastic.
|